
If you want to jump straight to the desktop installation as I should have done, go here to get your .ISO: http://www.ubuntu.com/download/desktop
If you want to only install the server version of the OS, or want to spend more time than you need to installing the desktop version, go here to get your .ISO: http://www.ubuntu.com/download/server
Let’s get started.
- Download the .ISO of your choice. This part of the tutorial assumes you’re going to use the server version (linked to above).
- Create a new VM in Hyper-V Manager, and select your downloaded .ISO file as your boot media during the set-up process. Instructions on doing so can be found here: https://jdmoore.xyz/2016/08/17/creating-your-first-hyper-v-vm/
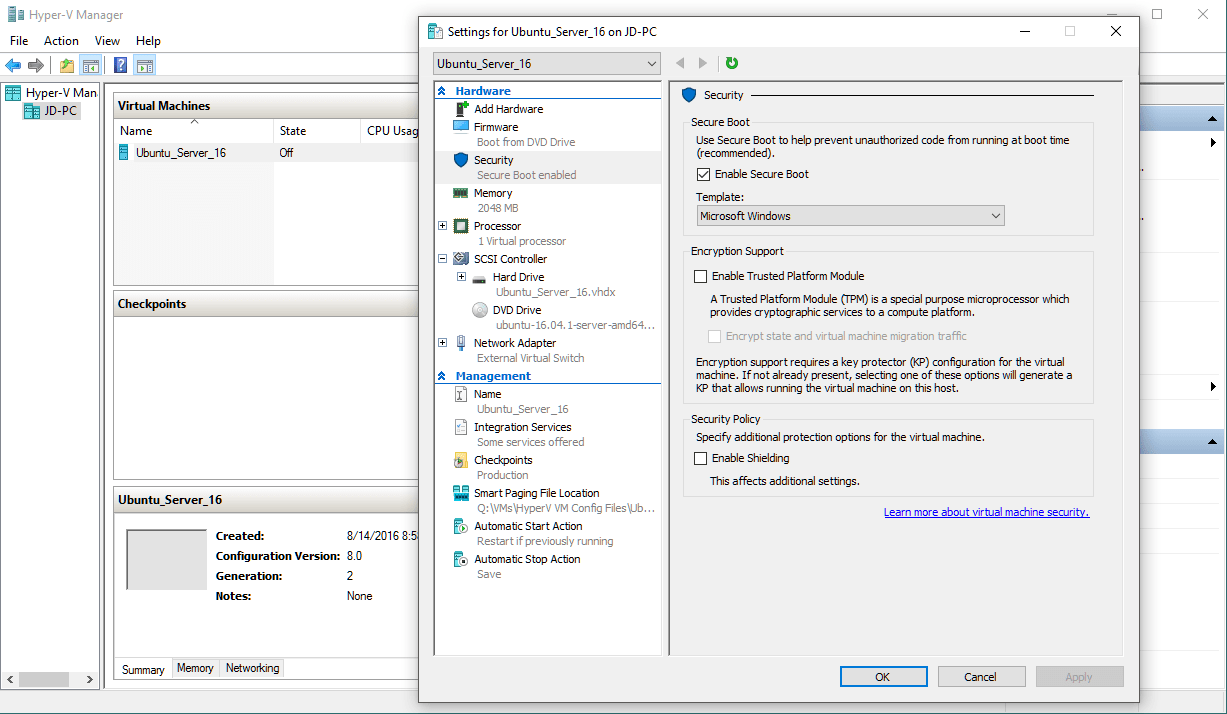
- Before booting to the VM for the first time, you’ll need to disable Secure Boot to allow you to boot to the .ISO file. To do so, right-click on your VM, then go to “Settings”. Click on the Security tab, and uncheck the box next to “Enable Secure Boot”. Then click OK.

 I initially got stuck here for a couple of minutes. Thanks to VirtualRick.com for the help!
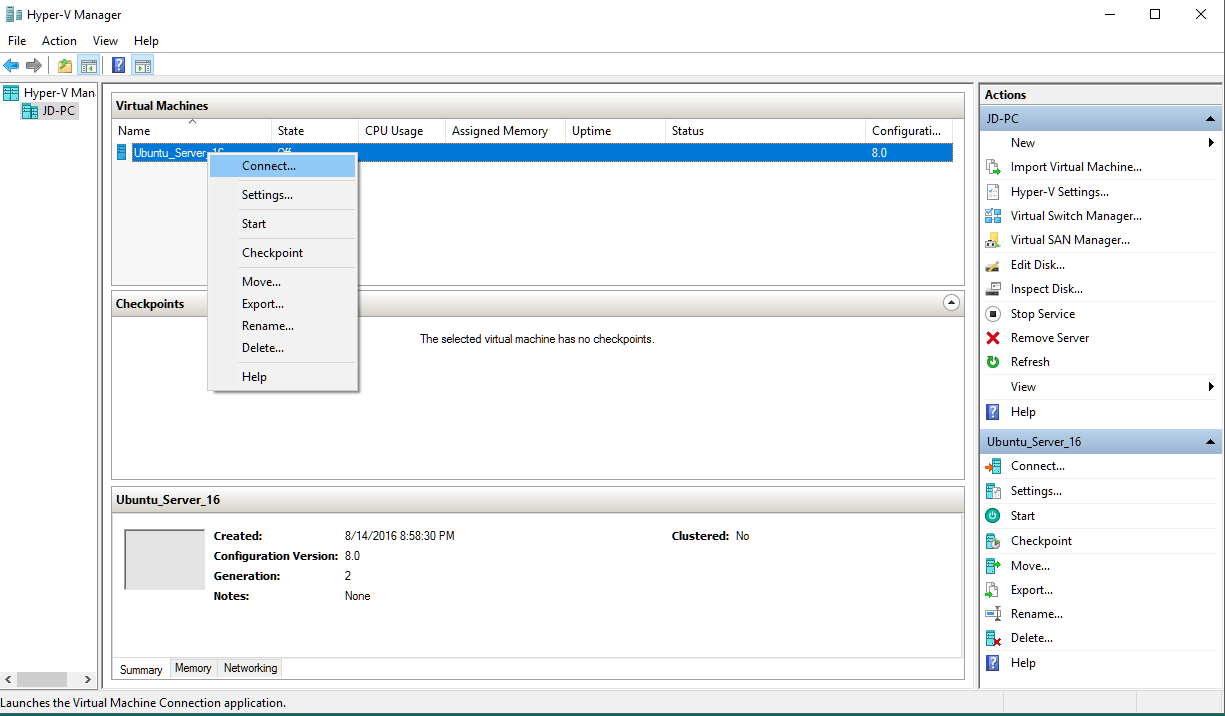
 - Right-click on your VM, click Connect, and then click the light blue power-on button.


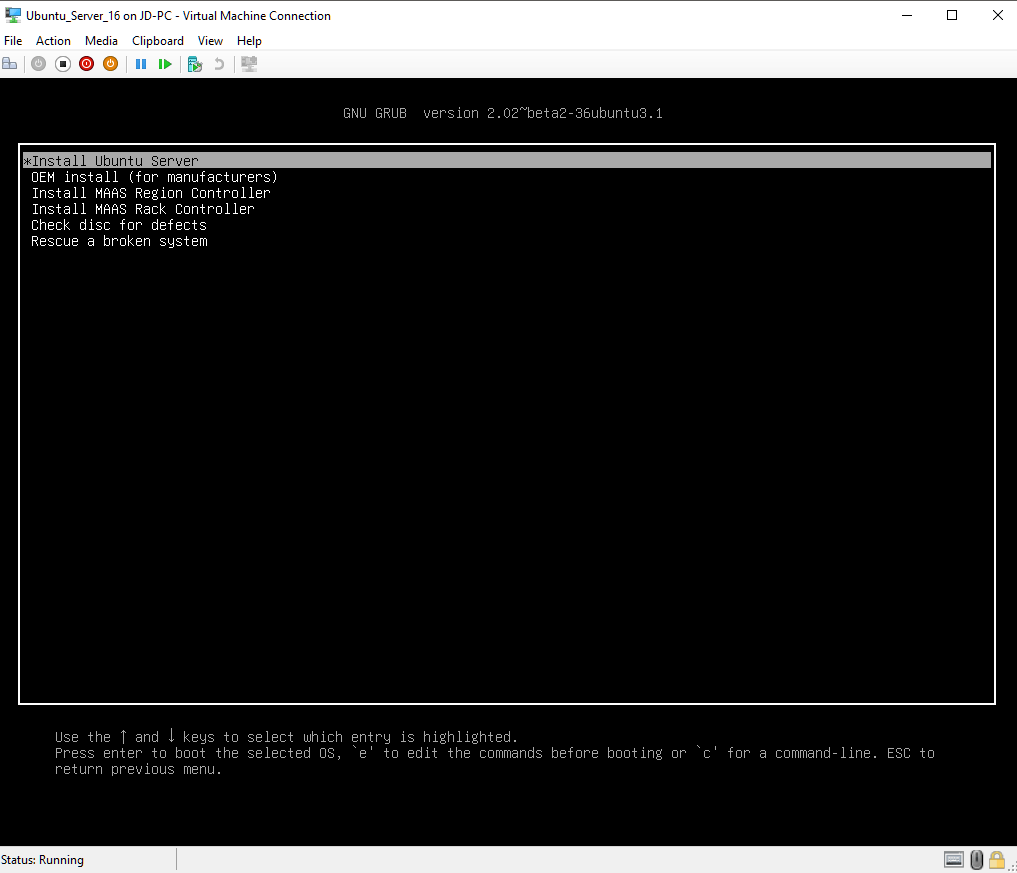
- Once the VM boots to the installation .ISO, choose the “Install Ubuntu Server” option. After some loading, you’ll be brought to the installation screen.

- The installation screens require the use of your keyboard’s arrow keys – where you’re going, you won’t need a mouse! You can mostly step through the screens, which should have you perform steps in this order:
- Select your language
- Select your country
- Automatically detect your keyboard layout, and wait for some bars to fill
- Set your hostname. I set mine to Ubuntu 16 to make it easier to identify the VM on my network.
- Enter your name (or a name, I’m not your boss), and then enter a username.
- Set your password, which will be required for anything requiring root-level (administrator) permissions.
- Choose not to encrypt the home directory, especially if you use whole-disk encryption via Bitlocker or another solution for your host.
- Select your time zone
- Choose the Guided – use entire disk option when creating your system’s partitions. This will allow Ubuntu to use the entirety of the previously created .VDHX virtual hard drive file created when you made the VM in step 2.
- Choose to write the changes to the disk, and settle in for a wait as Ubuntu is installed.
- Don’t set an HTTP Proxy (leave it blank) and continue onward.
- Choose to install security updates automatically unless you’ve got a really good reason not to. Since this is my home lab, and the only intent for this VM is to run a sometimes-used PLEX media server for my living room Roku, there’s no reason why I shouldn’t automatically install updates.
- In the software selection, just leave the “standard system utilities” checked, and leave the rest blank. More utilities can be installed later.
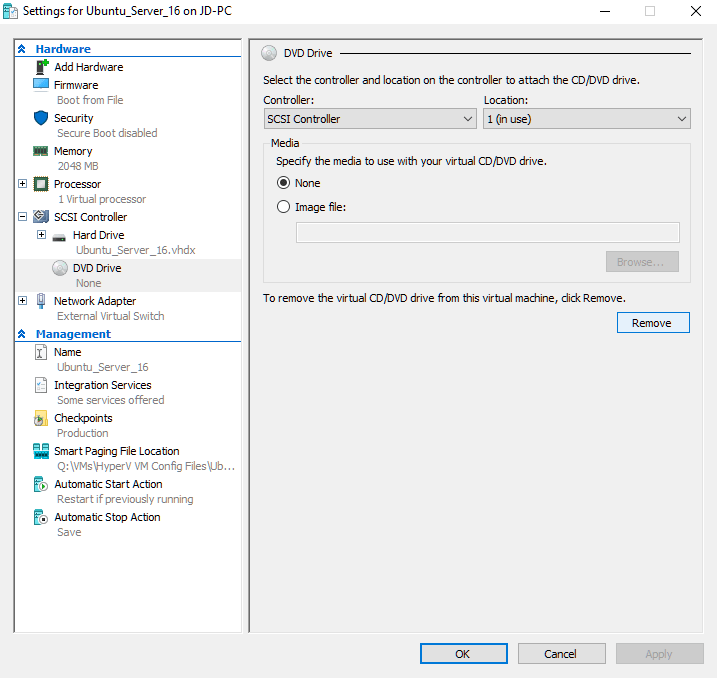
- After watching some more bars fill, you’ll be prompted to reboot and to remove your boot media. Since there’s no physical disc to eject, you’ll need to remove the .ISO from the VM’s settings in Hyper-V. Do this by going back to Hyper-V Manager, right-clicking on your VM and going to “Settings”. Go to the “SCSI Controller” section, and remove the DVD Drive. Click “OK” to apply the change.


- If the VM doesn’t reboot on its own, restart it.
- Once booted into Ubutnu Server, log in with your username and password you selected earlier. Just like Terminal on OS X (macOS), you won’t get any feedback when entering your password, not even a moving cursor.

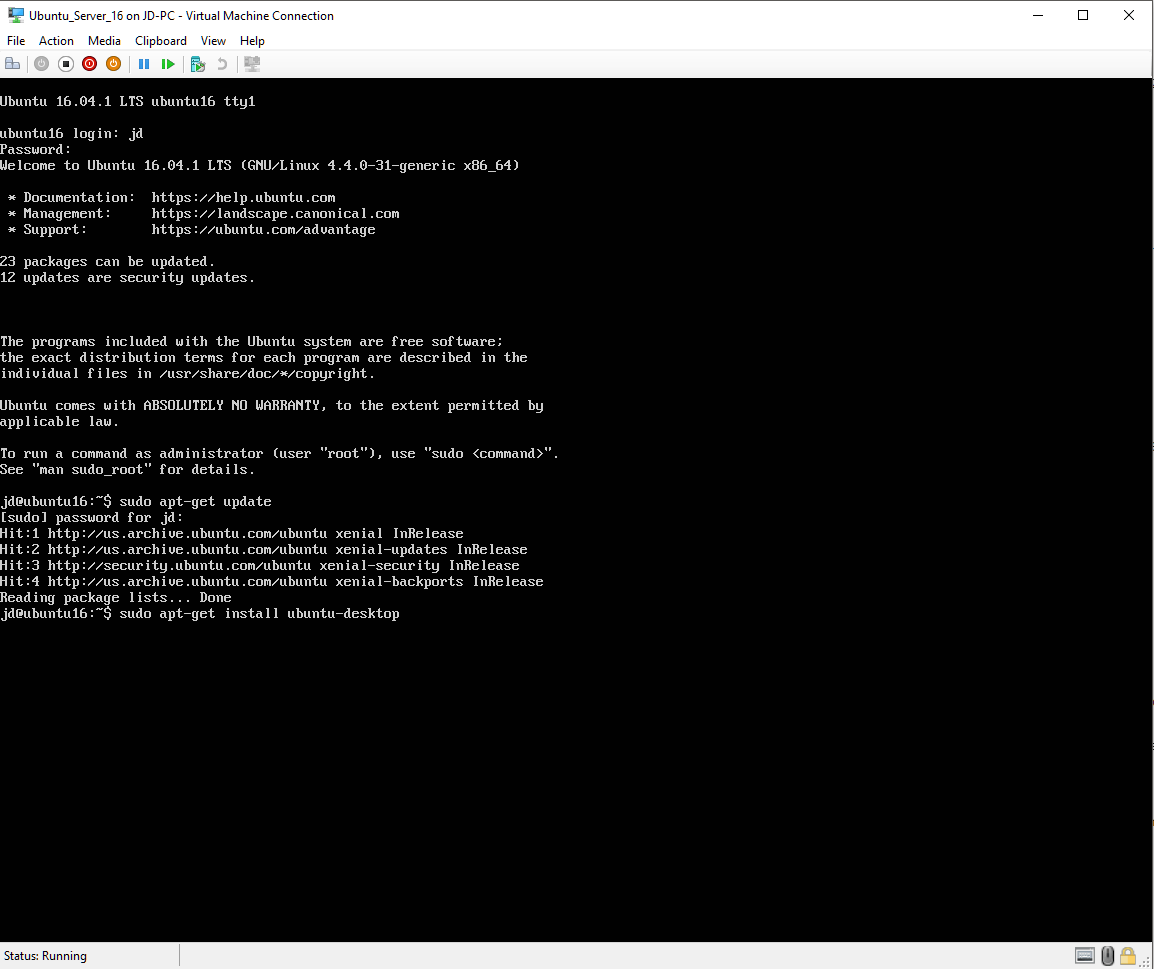
- Check for and run some updates by using the command “sudo apt-get update”.

- If you’re only after the Server installation, congrats! You’re done with the installation. If you’re like me and decided you want to use a GUI after all, keep going.


To install Ubuntu Desktop from Ubuntu Server:
- Boot into Ubuntu Server and log in.
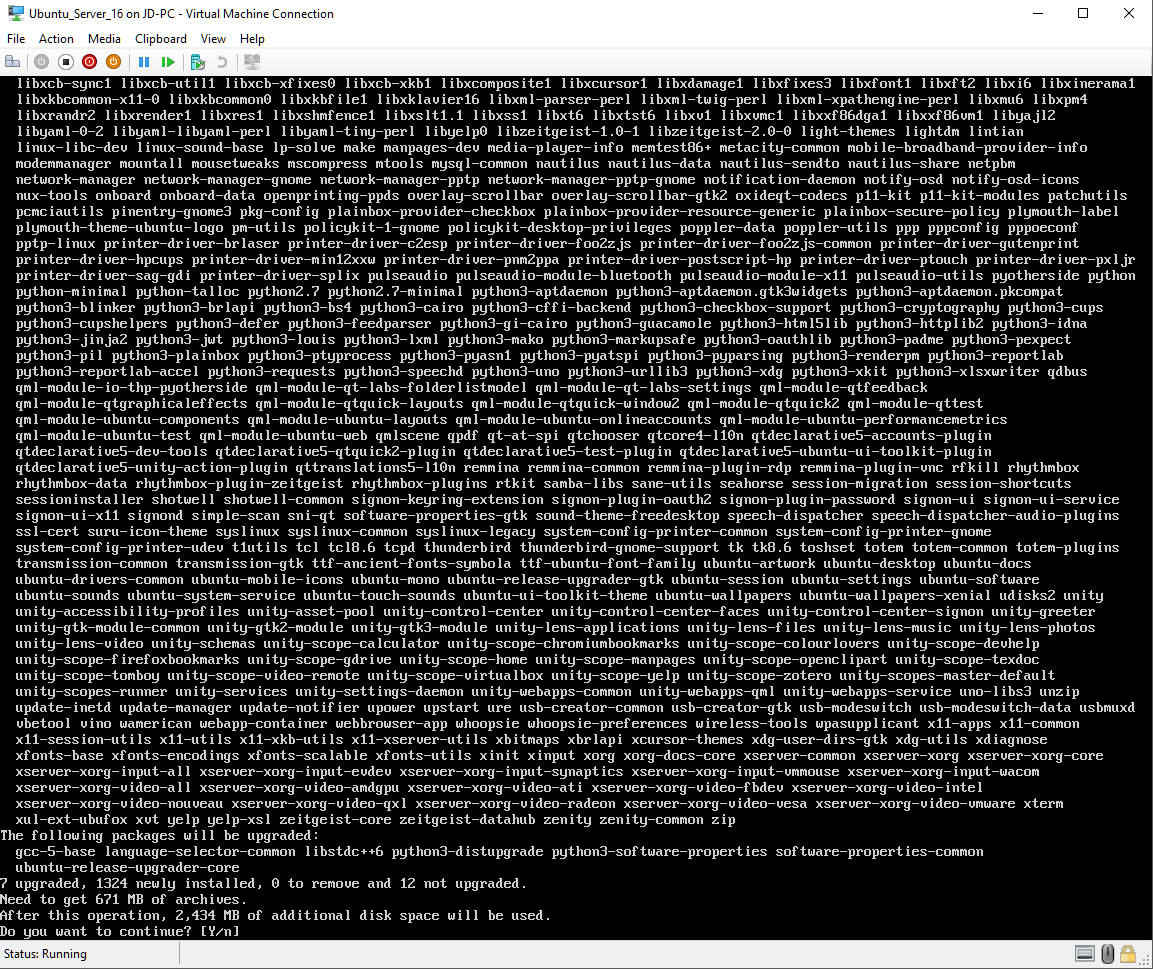
- Run the command “sudo apt-get install ubuntu-desktop”. This will take quite a while to finish.
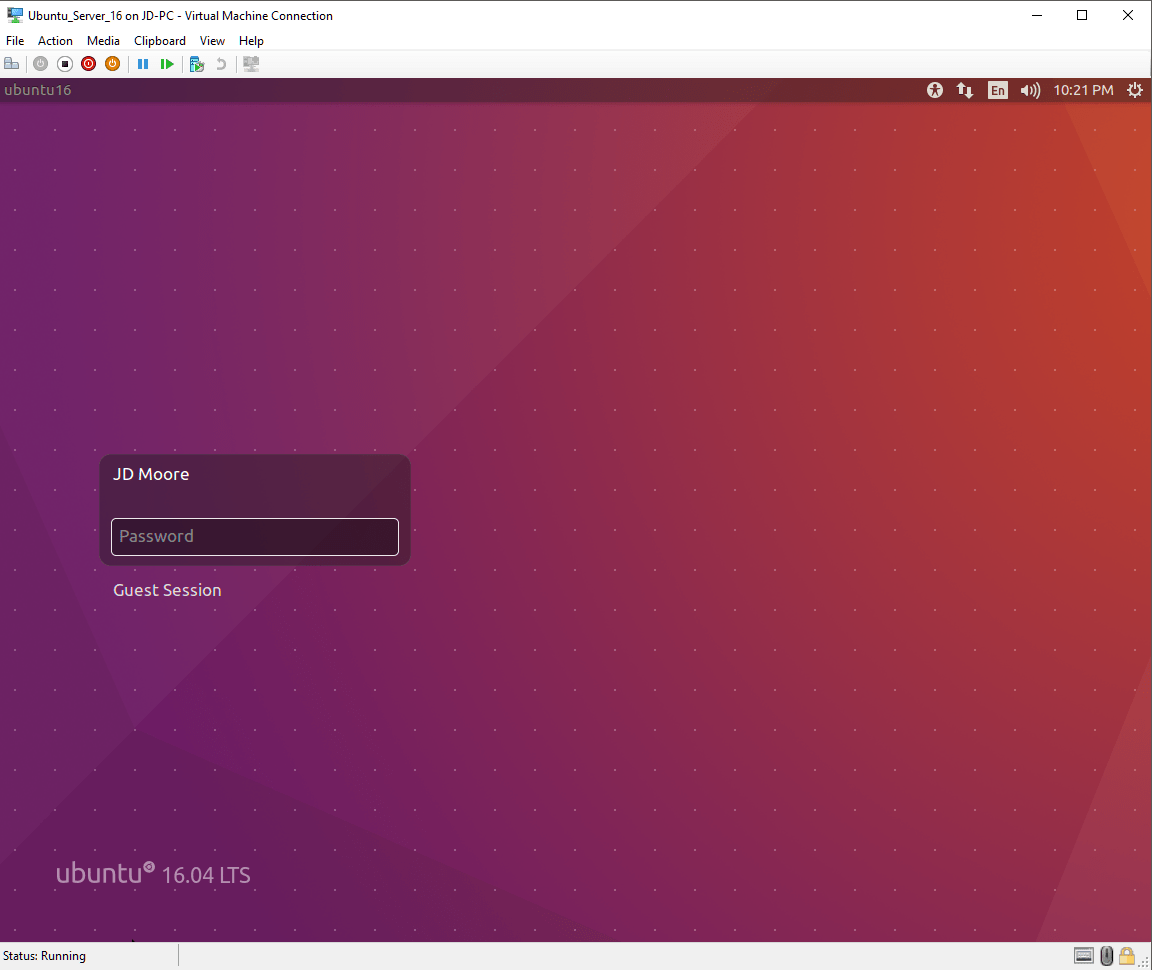
- Once the installation is finally done, reboot with the command “sudo reboot”.

- On reboot, you’ll be prompted to log in from Ubuntu Desktop’s login screen – congrats! You’re almost done!

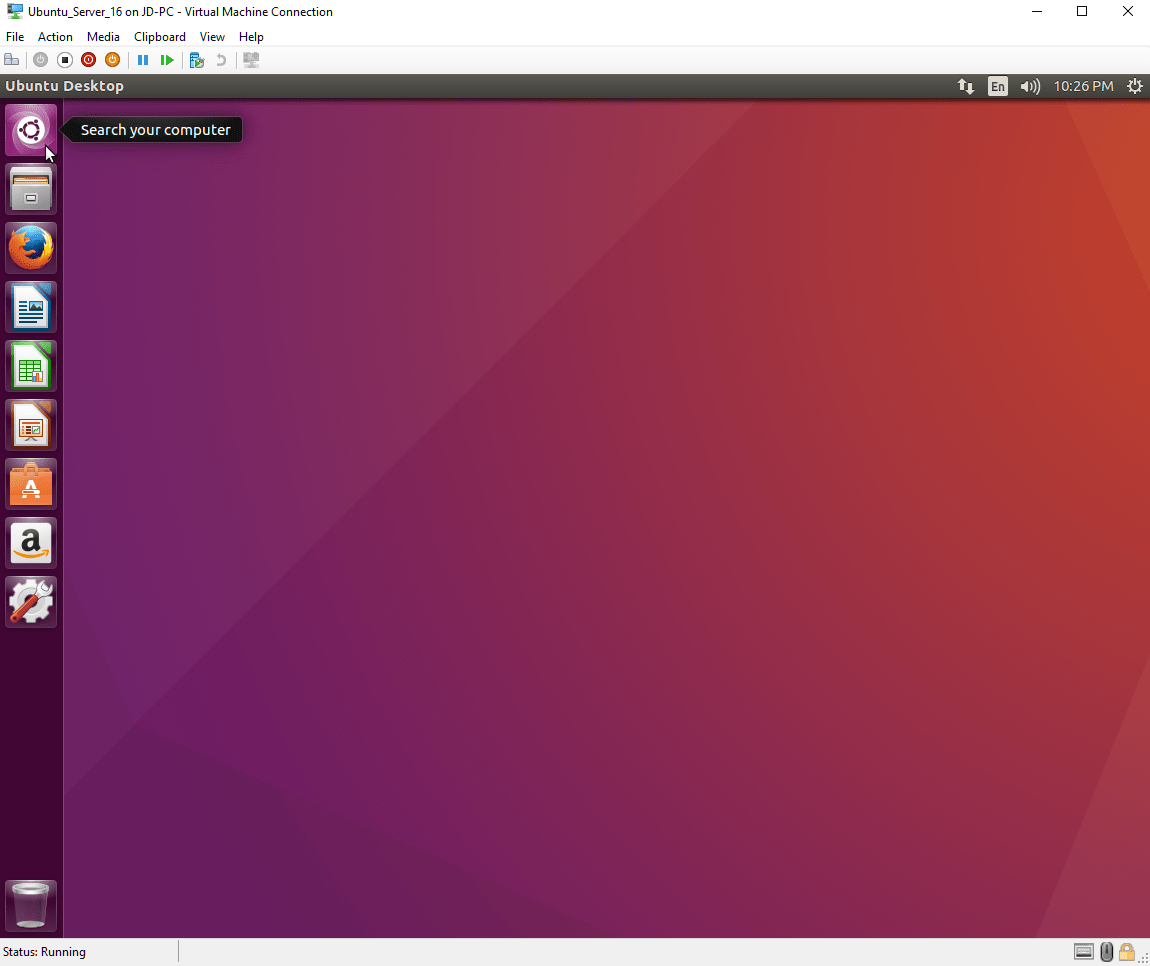
- Open Terminal by clicking on the purple Ubutnu icon in the top-left corner of your window.


- Check for updates one more time with the same command used earlier: “sudo apt-get update”. The update settings from the earlier server installation will carry over, so your machine will eventually check for updates on its own.


That’s it! If you chose to skip straight to the Desktop installation, you may want to check on the update settings to make sure the OS will pull updates automatically. You’re now free to use the machine in any way you’d like!
Glad my post was helpful. Thanks for the link!