
Let’s get started!
- Create a free account on https://www.plex.tv.
- Log in to the computer or machine you will be using to host your Plex server. I chose to start with an Ubuntu Desktop VM in Hyper-V, but as I said earlier, you can use almost any OS you’d like. If you want a little less maintenance later on, consider using an older computer you can leave on all the time, or just installing Plex on your regular computer. Right now, I use Plex only to watch a couple of things, so I don’t mind the extra steps to get the server started each time I want to access it.
- Download the appropriate version of Plex Media Server from Plex’s download page here: https://www.plex.tv/downloads/
- If you’re using a Windows or Mac OS, you can step through the installer and skip ahead to step 7. If you’re running Linux, read on.
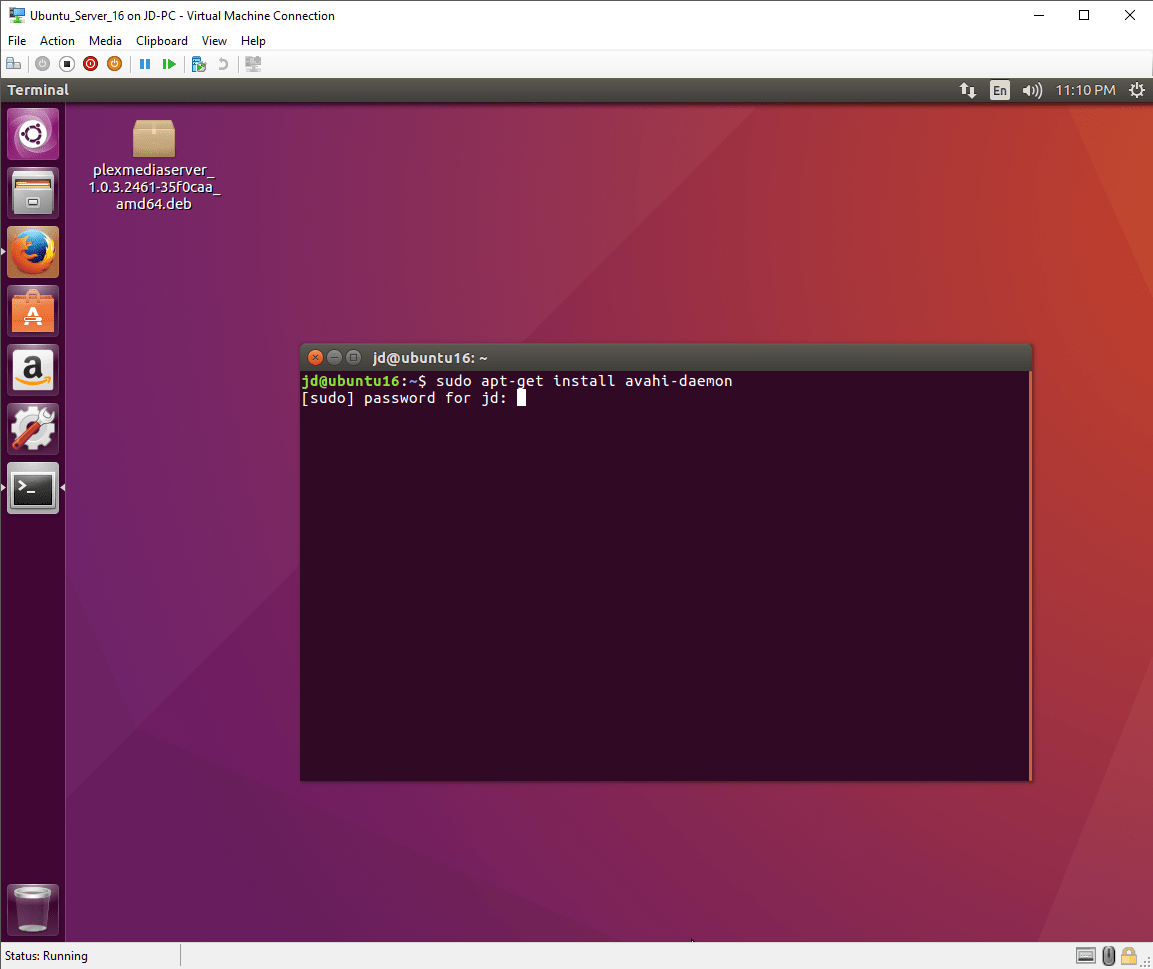
- Open Terminal, and make sure Avahi is installed by running the command “sudo apt-get install avahi-daemon”. Like Apple’s Bonjour protocol, Avahi will allow Plex to communicate with the rest of your network.

- Unpackage and start installing Plex media server via Terminal. I used the command “sudo dpkg -i /home/jd/Desktop/plexmediaserver_1.0.3.2461-35f0caa_amd64.deb”. Change the directory and file name to match your file’s location and name. Remember that you won’t have any feedback when typing in your password.
 For those unfamiliar, let’s break that down:
– “sudo” runs the command with root access, similar to running a program as administrator on Windows OSs.
– “dpkg” is the command that lets you unpack, install, remove, and modify packages in Linux.
– “-i” is the switch operator that will tell the “dpkg” command to install the file the command is being pointed at.
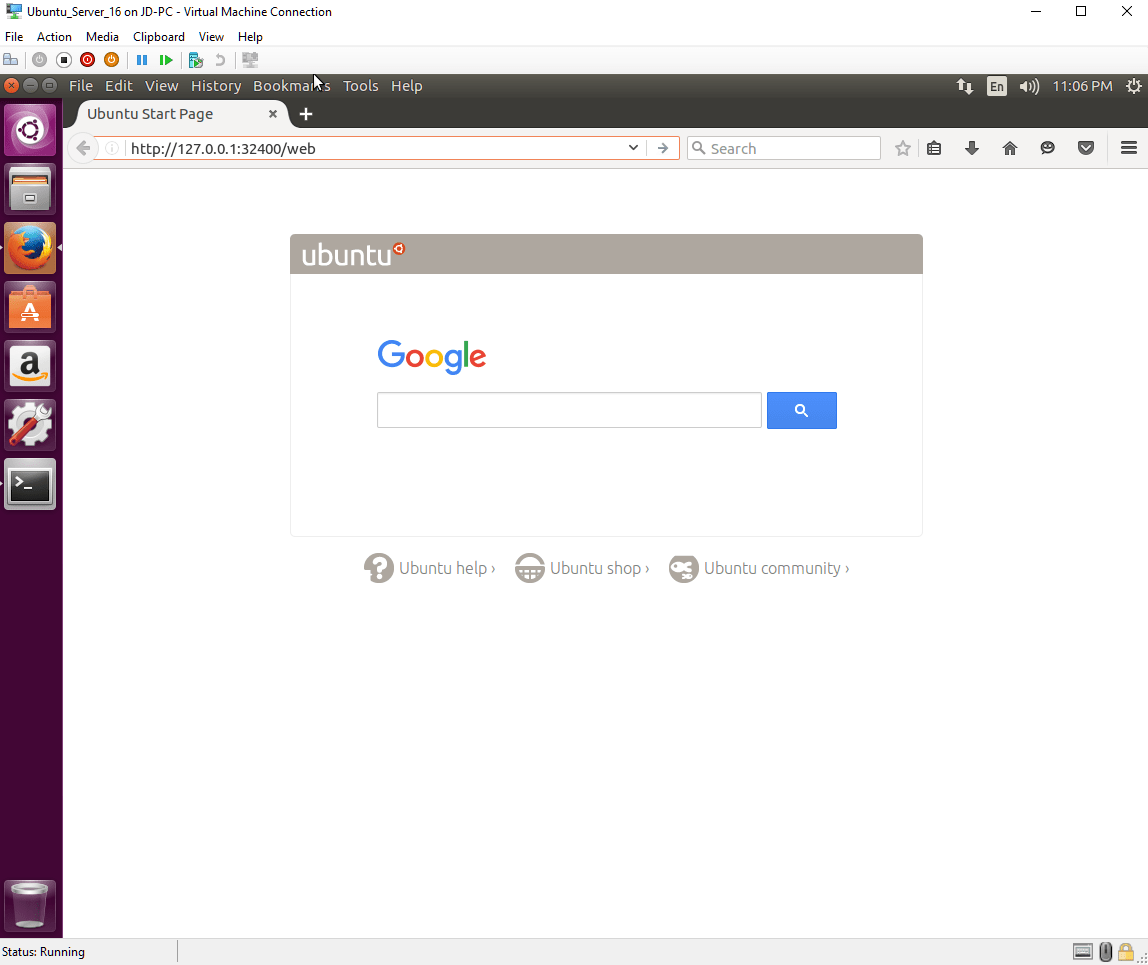
– “/home/jd/Desktop/plexmediaserver_1.0.3.2461-35f0caa_amd64.deb” is the path to and name of the file being used by the dpkg command. “/home/jd/Desktop/” is the path to my account’s desktop, and “plexmediaserver_1.0.3.2461-35f0caa_amd64.deb” is the name of the package I downloaded from plex.tv.To make running this command easier, you can right-click on the file you downloaded from Plex and go to “Properties”. You can then copy and paste the file’s location and full name, as shown in the screenshot. - Once the install is complete, open your browser of choice on the host machine and go to http://localhost:32400/web. From here, you can manage your server. This address will only work on your host, though.
 If you’re not worried about this (especially if you’re not going to be doing much management or your server is on a VM hosted on a computer you can easily access), skip ahead to step 10. Steps 8 and 9 are a good idea to make management easier, but they will have no impact on how well the Plex server will run.
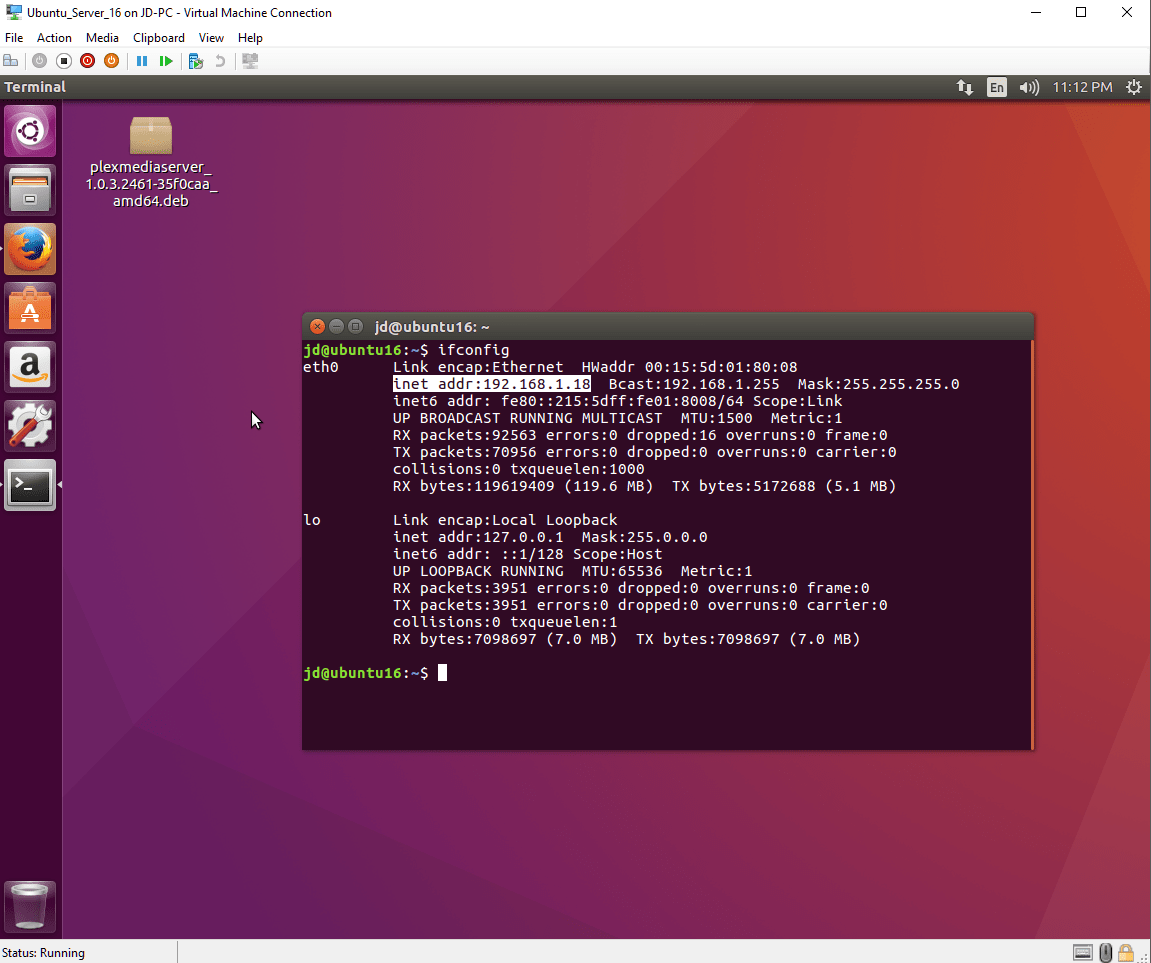
 - (Optional) Instead of managing the server from its host, the smarter option would be to connect to the Plex server installation from other devices on your network via IP address. In Ubuntu, you can get your IPv4 address and lots of other information by running the command “ifconfig” in Terminal. Look for and make note of the “inet addr” line. Mine was 192.168.1.18; if you’re on a consumer-grade router, you’ll probably have a similar address. Also make note of the MAC address (“HWaddr”).

- (Optional) Go to your router’s administration page, and create an IP reservation for your machine. The steps to do this will vary greatly depending on the make and model of your router. Googling “Create IP reservation [router brand router model]” will lead you to the steps you need to follow. This IP reservation will make the machine pull the same IP address each time it connects to your network, allowing you to more easily connect to it via IP from other computers on the same network.
- In your browser, go to the web management page for your Plex server (either http://localhost:32400/web or http://xxx.xxx.xxx.xxx:32400/web if you’re connecting from another machine on your network) and log in with your Plex account.
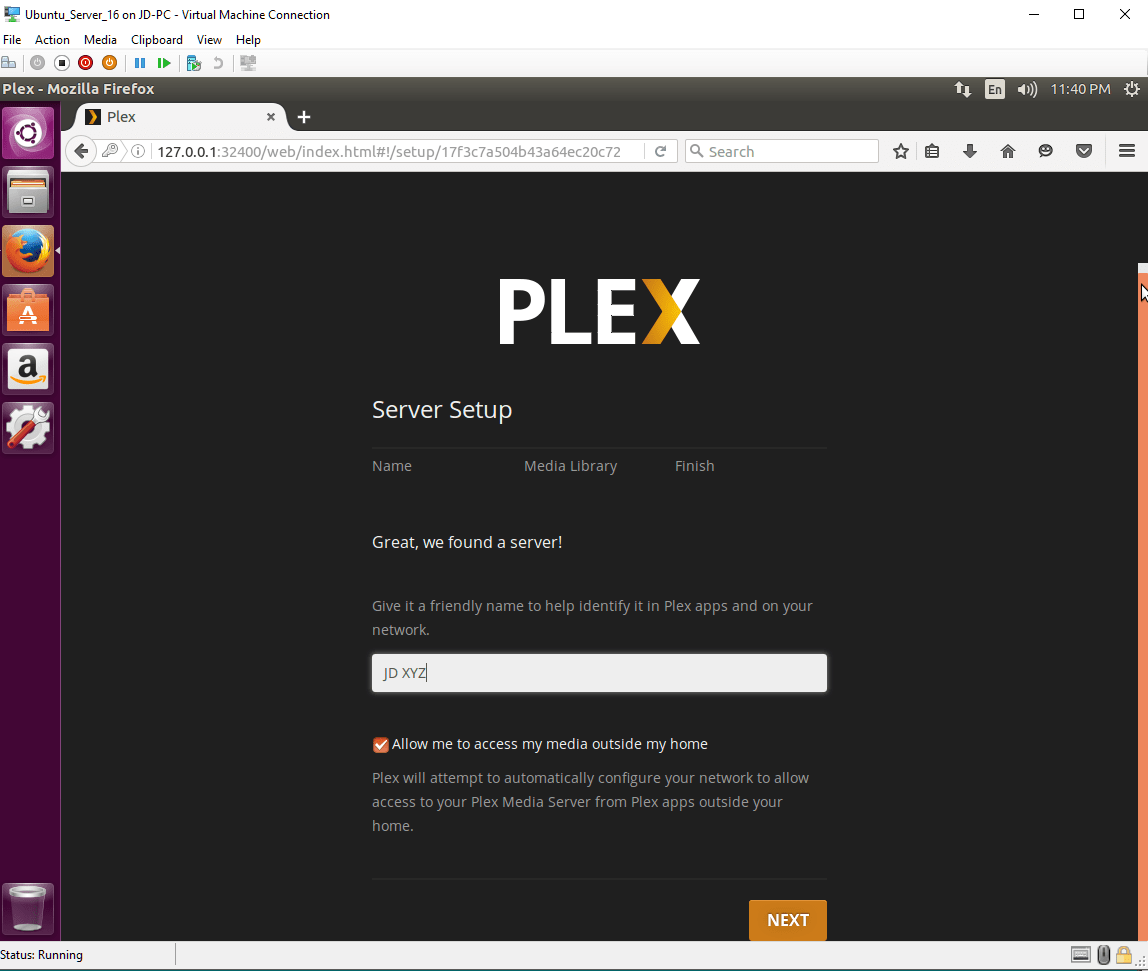
- Claim and name your server something recognizable, and click “Next”.

- (Optional) Before adding a media library in Plex, make sure your files are named properly. This isn’t as big of a deal if you’re not going to host a ton of content for a long time, but if you’re looking to use Plex as a tool to catalog your media library, this will practically be a requirement. Plex’s website has a great section about their accepted naming conventions here: https://support.plex.tv/hc/en-us/categories/200028098-Media-Preparation
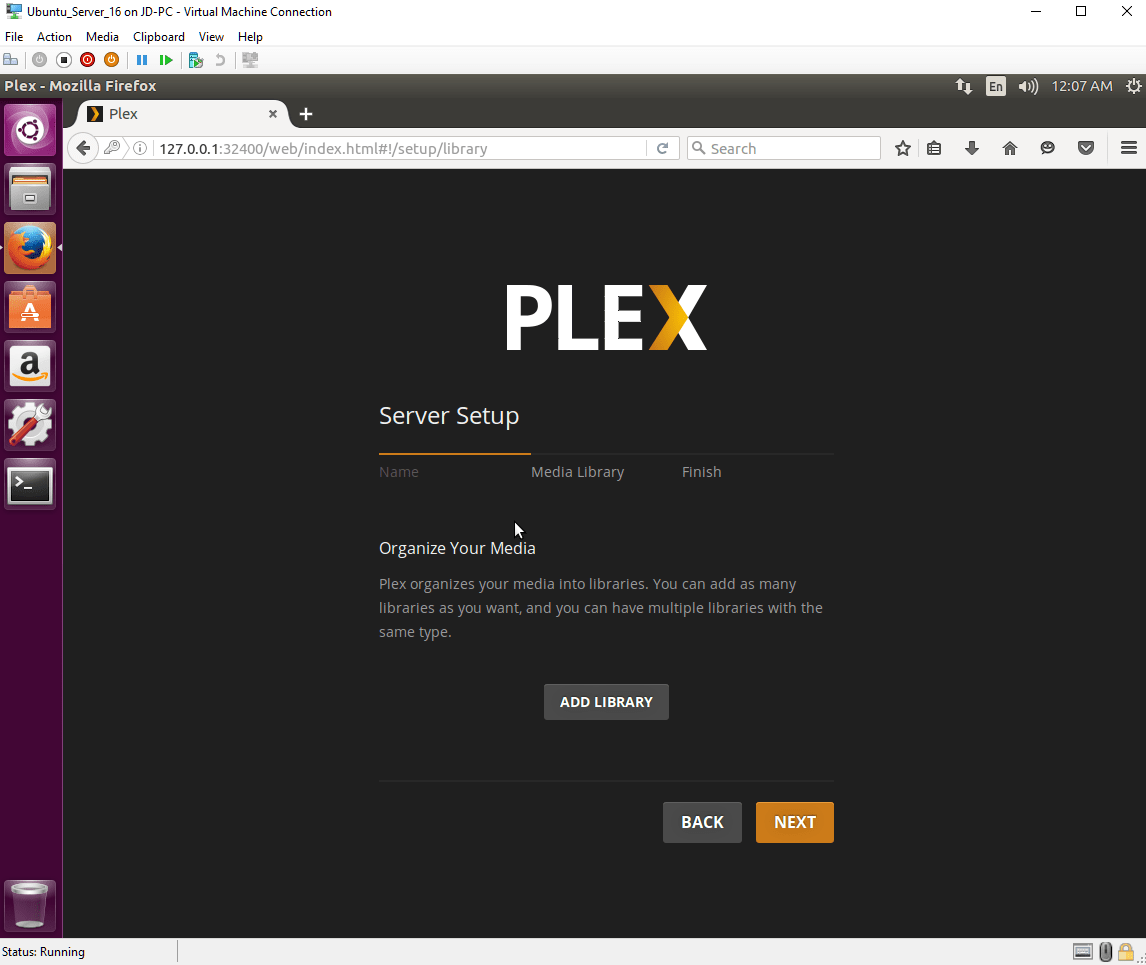
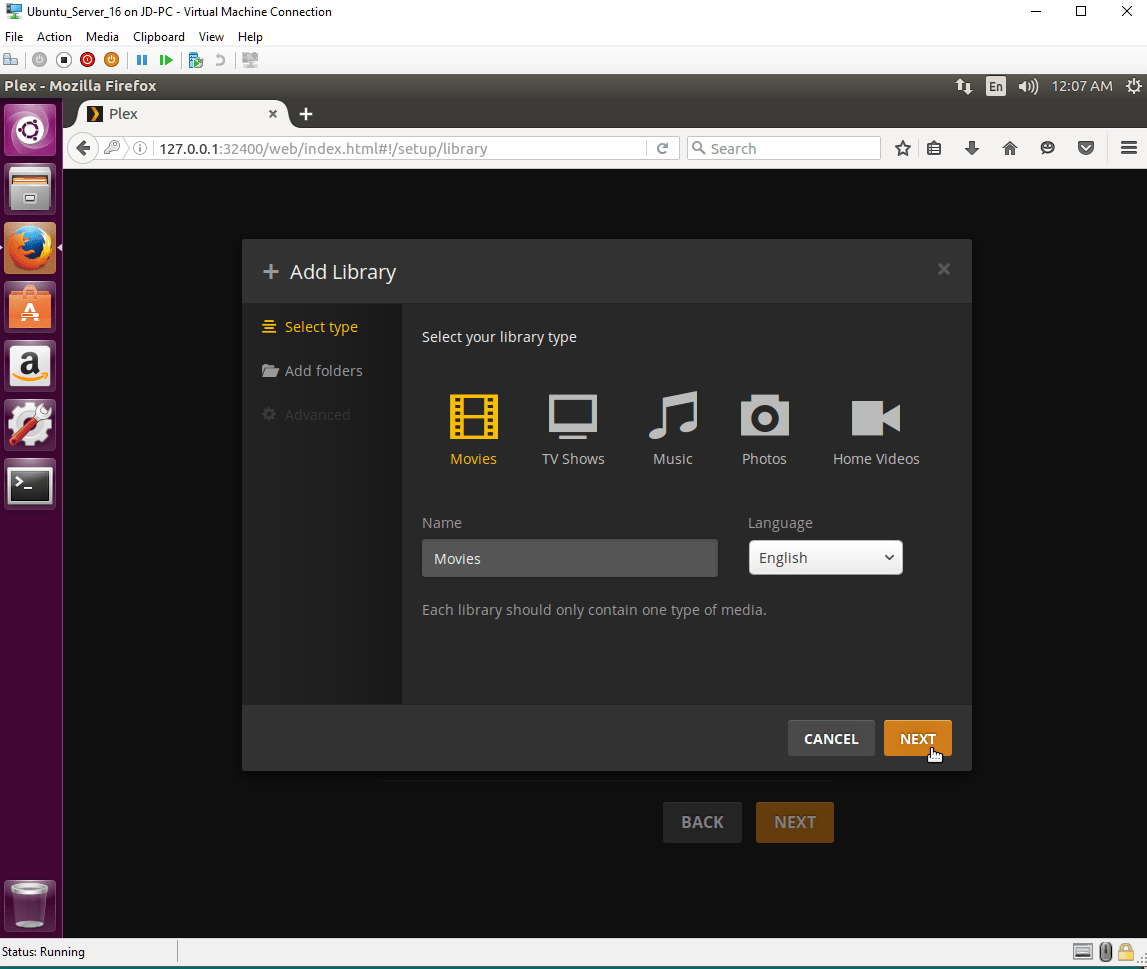
- Click the “Add Library” button, and choose the type of library you’re going to create. By default, Plex will have you choose from Movies, TV Shows, Music, Photos, and Home Videos. If you aren’t following the guidelines from the link in step 12, at least sort your files in folders by the library type (movies in the movies folder, etc.).

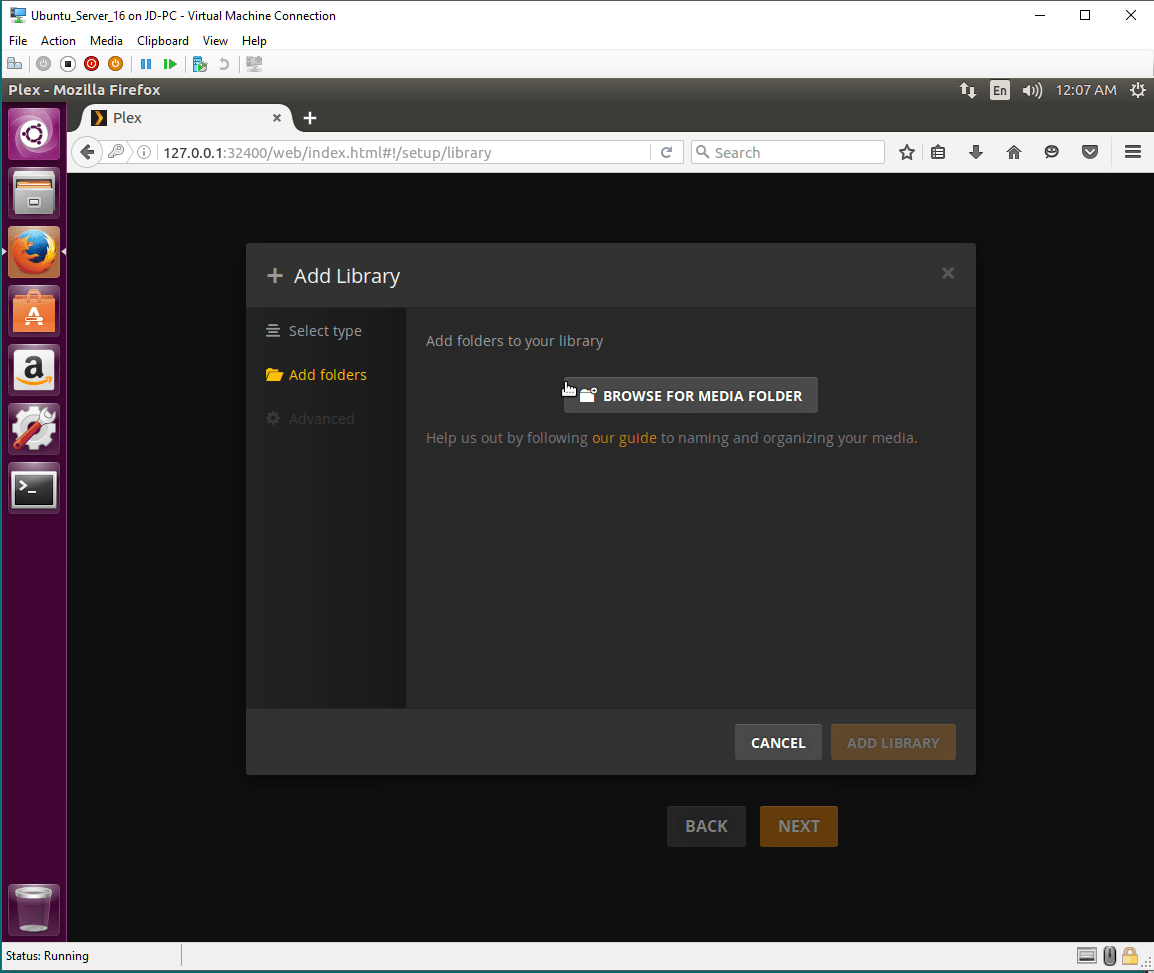
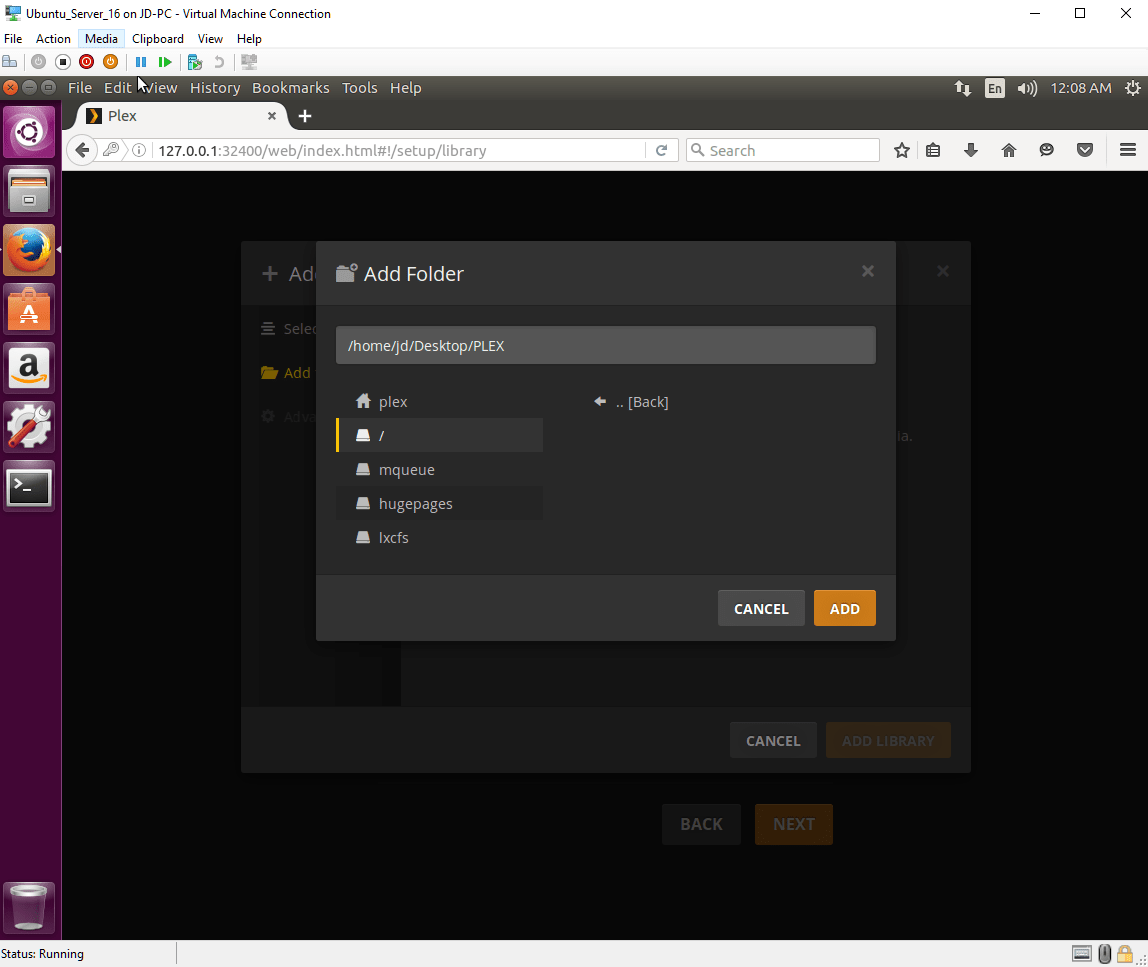
- Browse to the folder for your library, click “ADD”, and then “Add Library”. Plex will look into its subfolders on its own, so you’ll only need to point to the top folder of the library’s directory.
 Since this is probably going to be a temporary installation of Plex for me, I created a folder named “PLEX” on my machine’s desktop, which is accessible at /home/jd/Desktop/PLEX. Keep in mind that this is case sensitive.


- If you’re going to have more than one library (Movies and TV Shows, for example), repeat steps 13 and 14 to point Plex to the rest of your content.
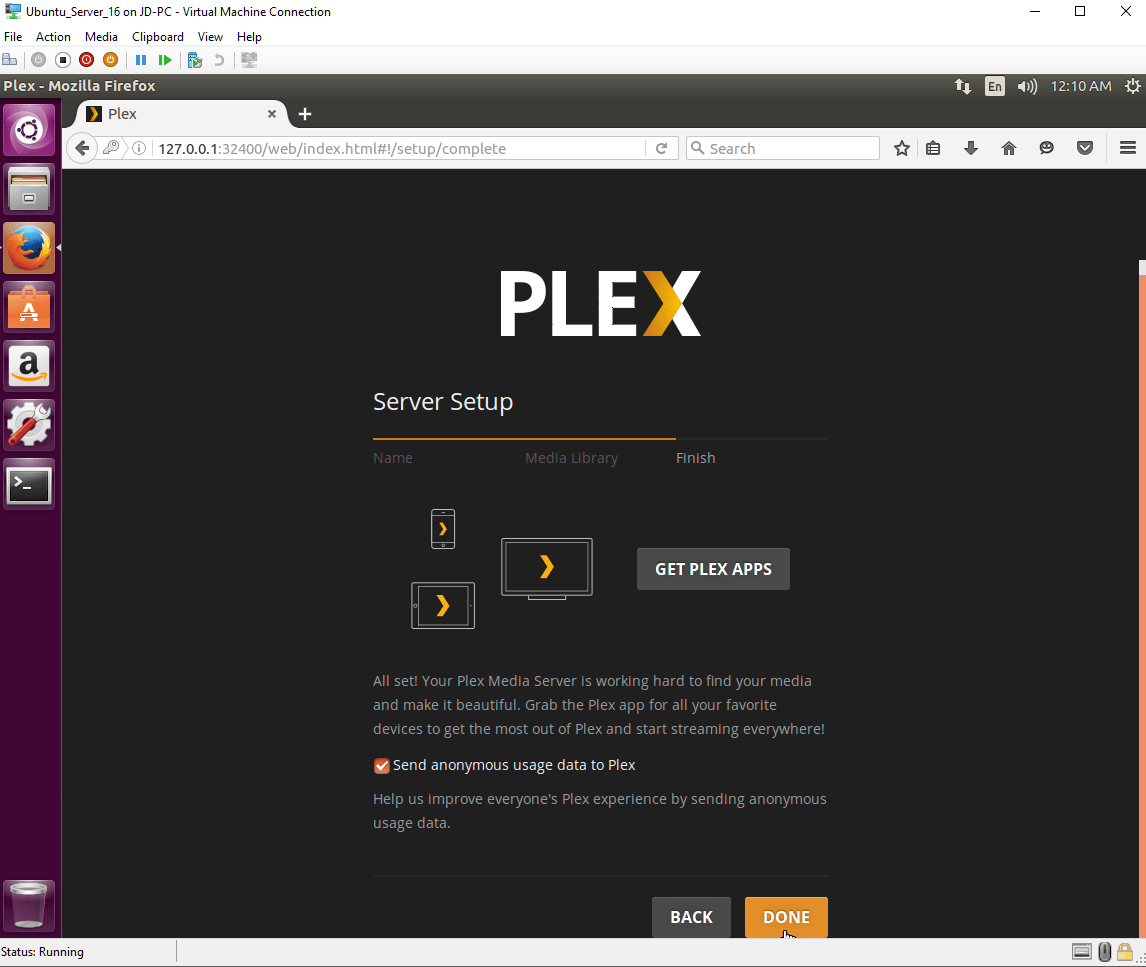
- Once you’ve added all of your libraries, click “Next”, choose if you want to send anonymous usage to Plex, and then click “Done”.

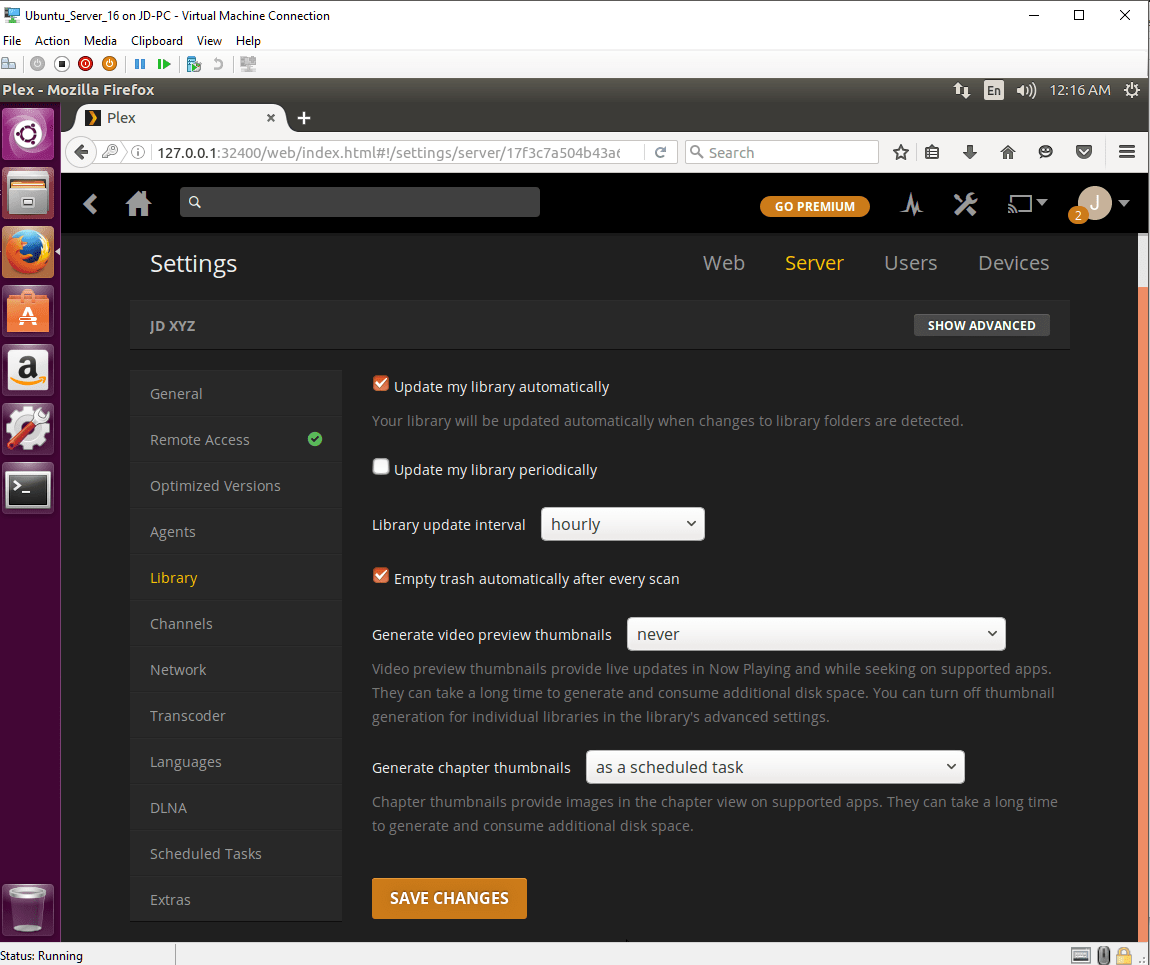
- From the next page you’re brought to, Settings > Server > Library, and check the box next to “Update my library automatically”. This will make Plex automatically check for, catalog, apply meta data to, and list new content whenever you add properly named files to your folder(s).


That’s it! You can now download the Plex app on your mobile devices, set-top boxes and smart TVs, or go to https://app.plex.tv/web/app to watch your content! Keep in mind that you need to have the host on and connected to the Internet, and have Plex server running. From what I’ve experienced, Plex server will start as soon as I’m brought to the login screen of my Ubuntu Desktop VM, though your results might vary. Also, you may need to purchase a Plex Pass to watch on certain devices.